This article does not cite any sources. Please help improve this article by adding citations to reliable sources. Unsourced material may be challenged and removed.(March 2022)
Instant death attacks are a common occurrence throughout the Resident Evil series. This name has been attributed to three different classes of attacks utilized by various monsters.
Instant Death Attacks - These are the very essence of the namesake. If these attacks hit their target, they will die regardless of their health situation and once hit, there is no way to recover from it.
Avoidable Death Attacks - These involve either grabbing the player or putting them in an immediately avoidable situation. The player can often escape by struggling (moving the analog/directional pad or tapping buttons) or by entering a designated prompt. Failing to will result in death.
High-Damaging Attacks - Although these do not include instant death in such a manner, they are extremely damaging. When a player in Caution status is hit with these attacks, it will result in a specialized instant death animation. Some creatures will not even use these attacks until the player is in Caution status.
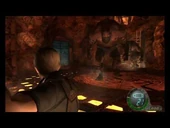
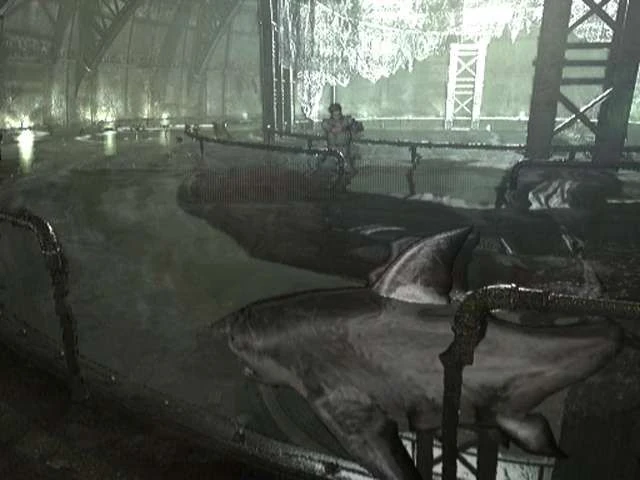
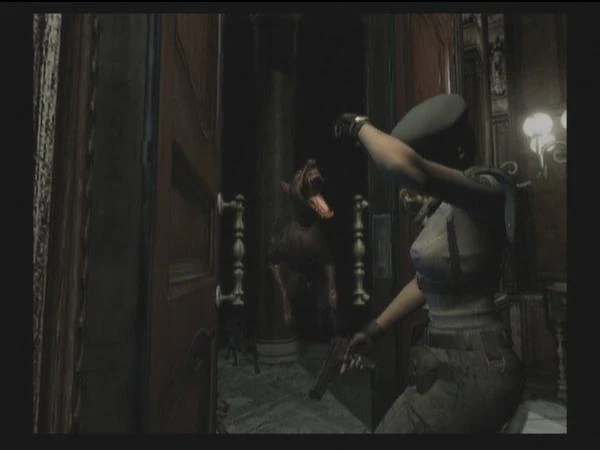
In Resident Evil, failing to cross the Aqua Ring fast enough will result in the mother Nepture instantly devouring the player.
Run. In this situation, that is really the only thing you can do. The Neptune shark cannot be killed at this point, so just run through the Aqua Ring as fast as you can and you should avoid a chompy death.
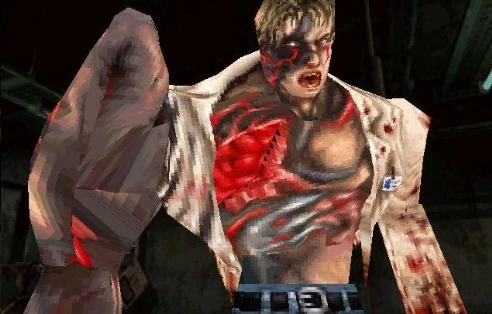
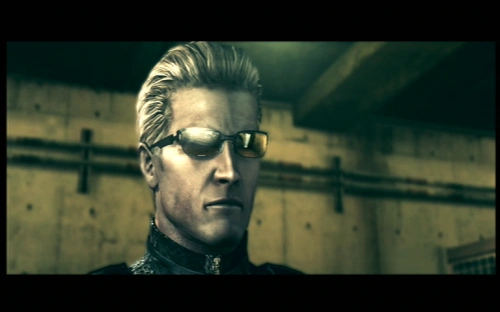
With his pipe in hand, Birkin will raise it high into the air for several seconds before smashing it down onto any nearby player, killing them instantly.
Thankfully, Birkin's first form is extremely slow, giving you plenty of time to unload into him with a Grenade Launcher, Shotgun, or whatever you have to end the battle quickly before he can close in and use this attack. Even then, it should be easy to run from and avoid.
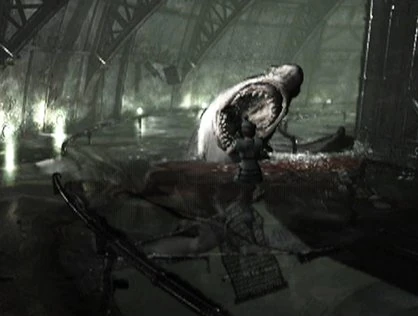
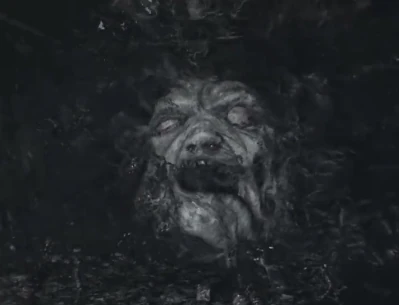
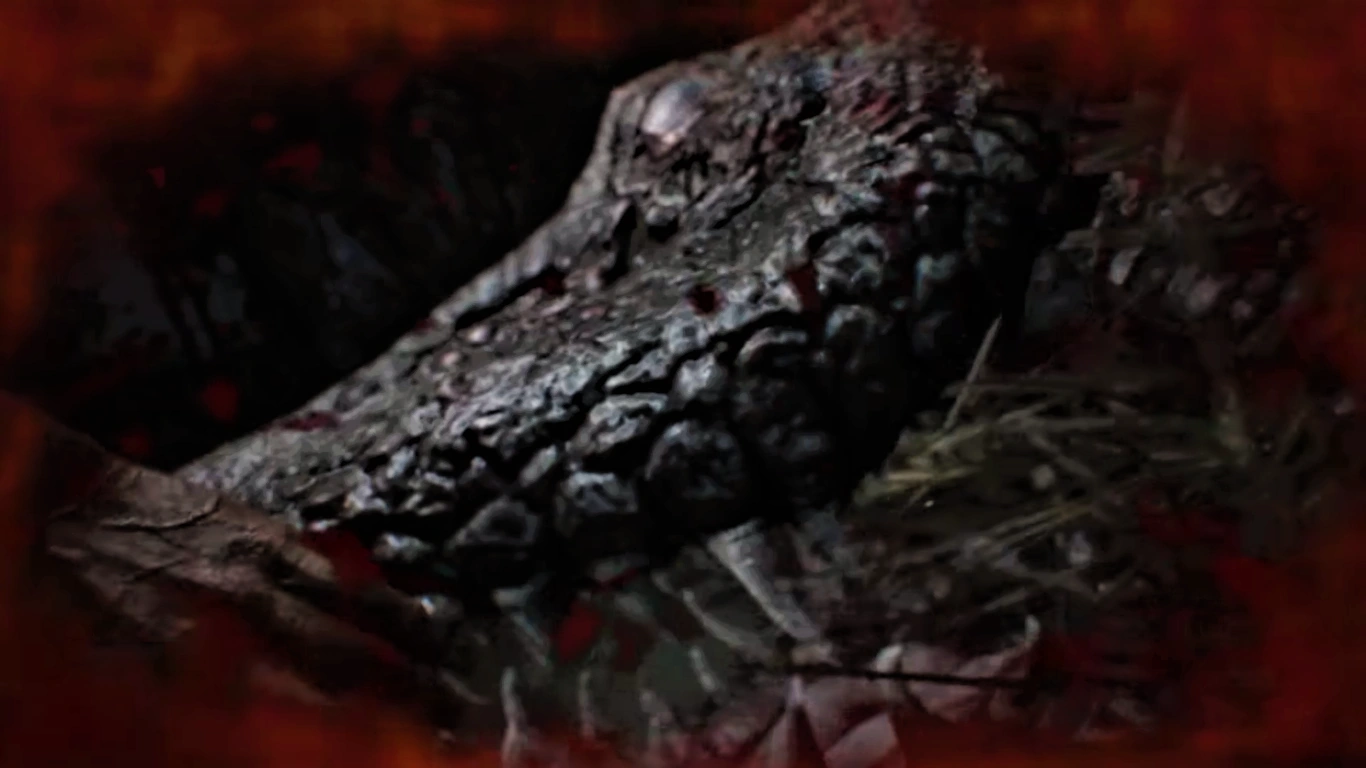
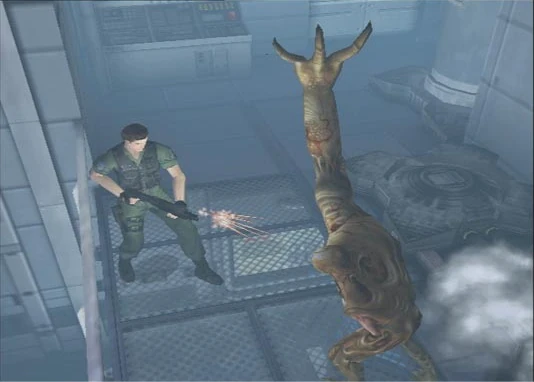
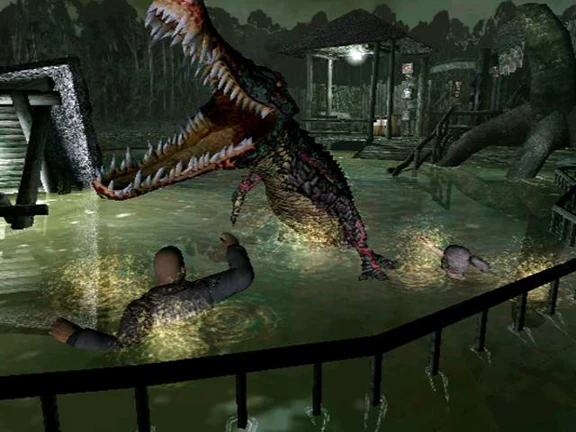
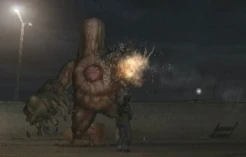
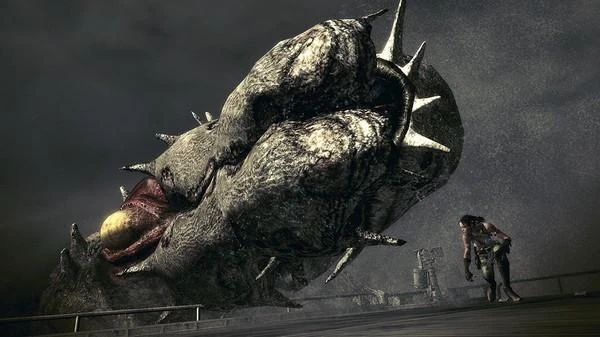
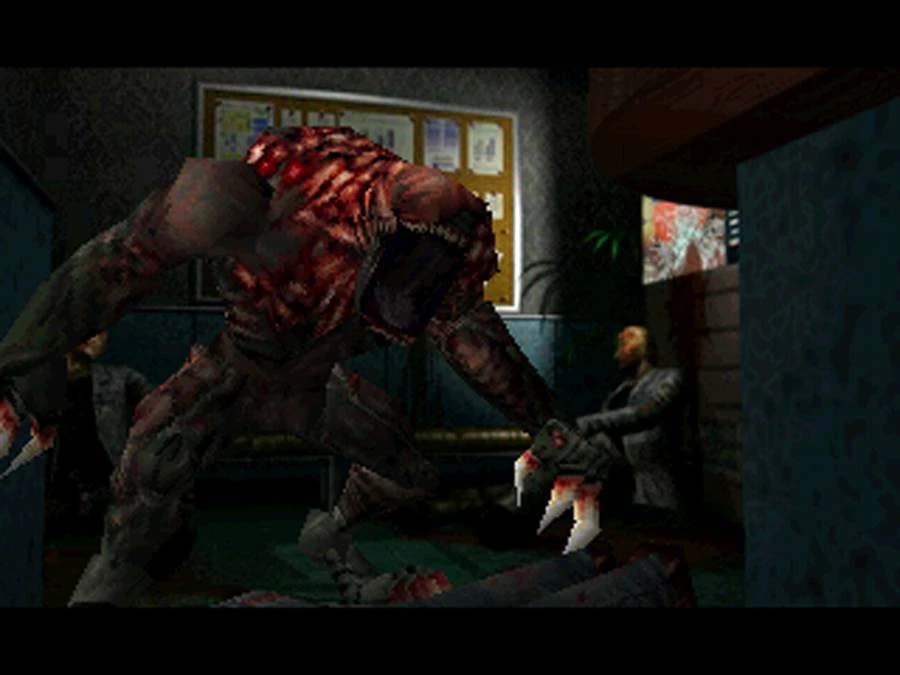
This giant alligator found in the sewers beneath Raccoon City is easily large enough to completely consume the player in its maw, and it will do just that if it gets close enough.
The easiest way to defeat this toilet-flushed-pet is to lead it around the sewer tunnel until you get to the explosive canister. As the alligator passes it, it will snap it up in its jaw. All it will take is a single bullet, then, to take off the gator's head.
Getting too close to the back of Nemesis' final form will cause it to suddenly flip over onto its back, impaling the player with the spikes lining its back.
Very simple - don't stay near it's back side. Although its attacks are powerful, this one is the most dangerous. Nemesis' final form can be damaged with the magnum and rocket launcher but the best way to go about this is as the game intended, by utilizing the rail gun.
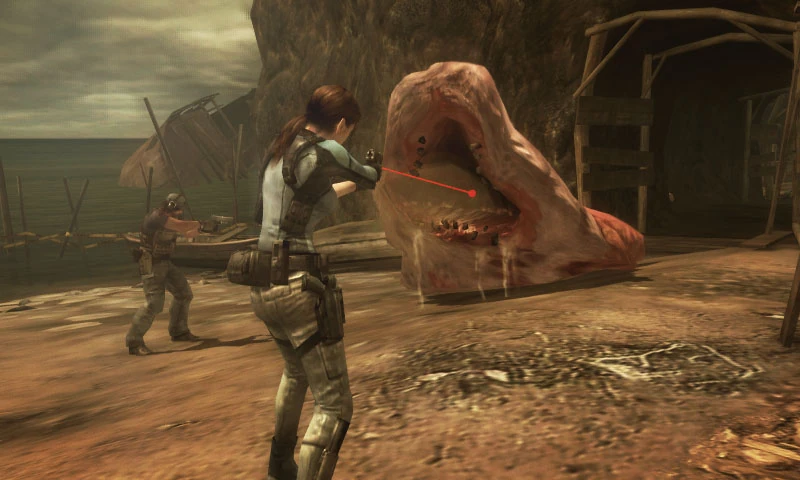
The Gulp Worm will attempt to come up from beneath the player, and will completely devour the player if given the chance.
The best strategy is to just run away from it, because it will take a lot of bullets to kill early on. It shouldn't be too hard to dodge if you're quick.
If Nosferatu hits Claire with any of his appendages attacks, and causes to throw or push her towards the limits of the helipad, she'll fall to her death.
Avoid close combat when near the edges, it's better to stay away from him.
Only in her first form, if Alexia gets too close to the player, she will lift them up with her hand and completely engulf them in flames.
The best course of action for Alexia's first form is to simply keep as much of a distance from her as possible. Try to get out of this battle quickly by using the magnum or another powerful weapon.
When Claire is about to run past Alexia, she cuts her off with a wall of flames and approaches her, if you don't shoot her, she'll hit Claire pushing her off the platform.
Your only option is to shoot. Any gun will be enough.
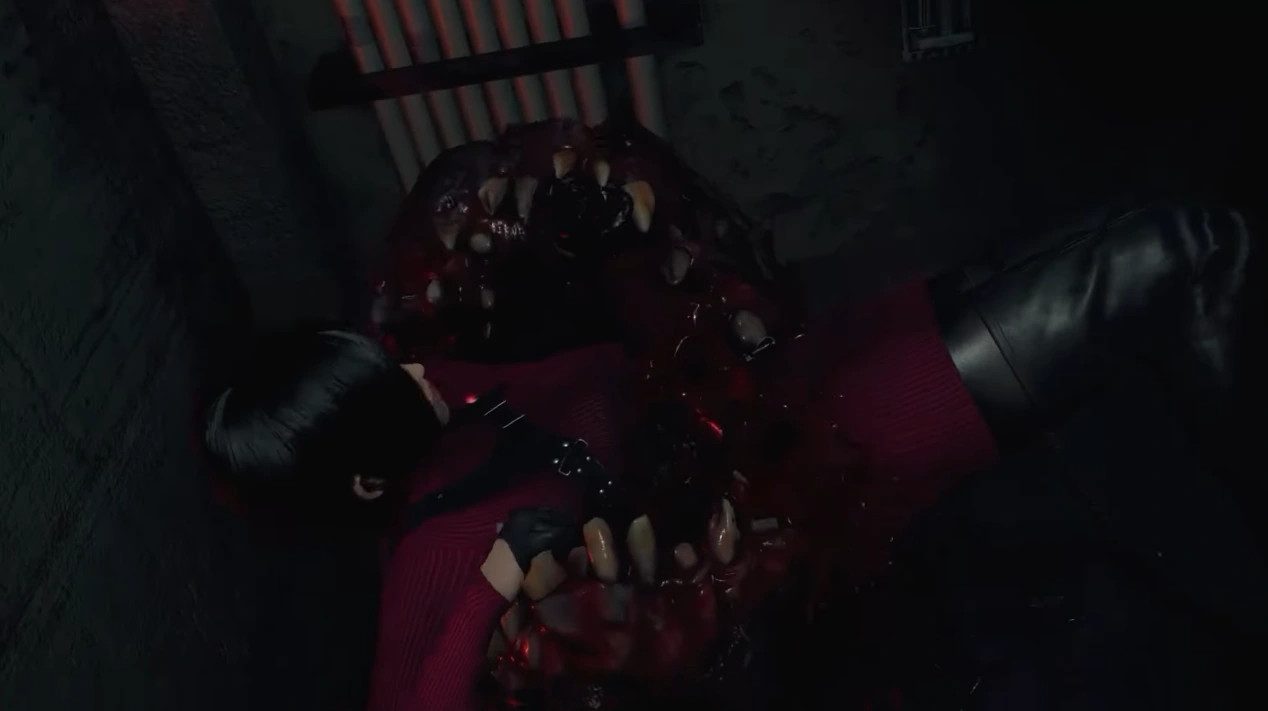
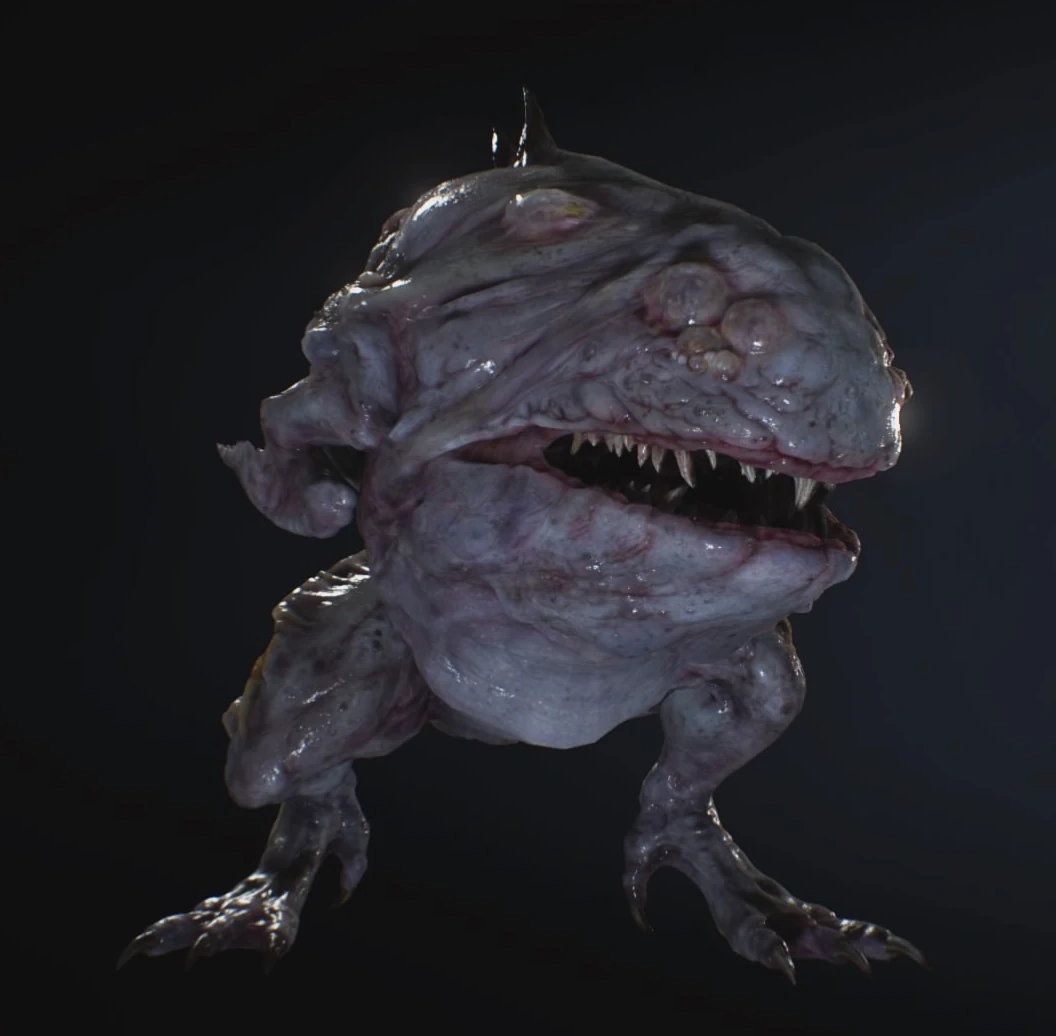
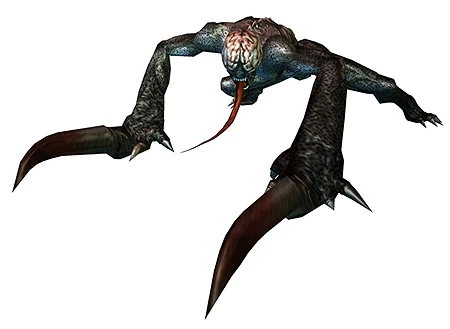
Extremely dangerous when close, the creature will easily swallow the player whole.
Killing the Lurker is out of the question. Thankfully, it scares easily as a gunshot is usually enough to make it run away quickly. Firing off a shot should give you enough time to make way to an exit and get away from this creature before they make a snack out of you.
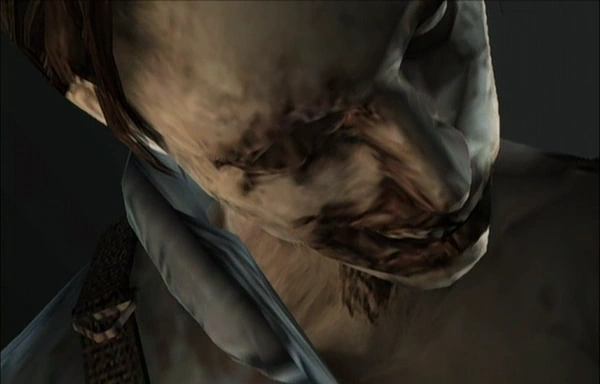
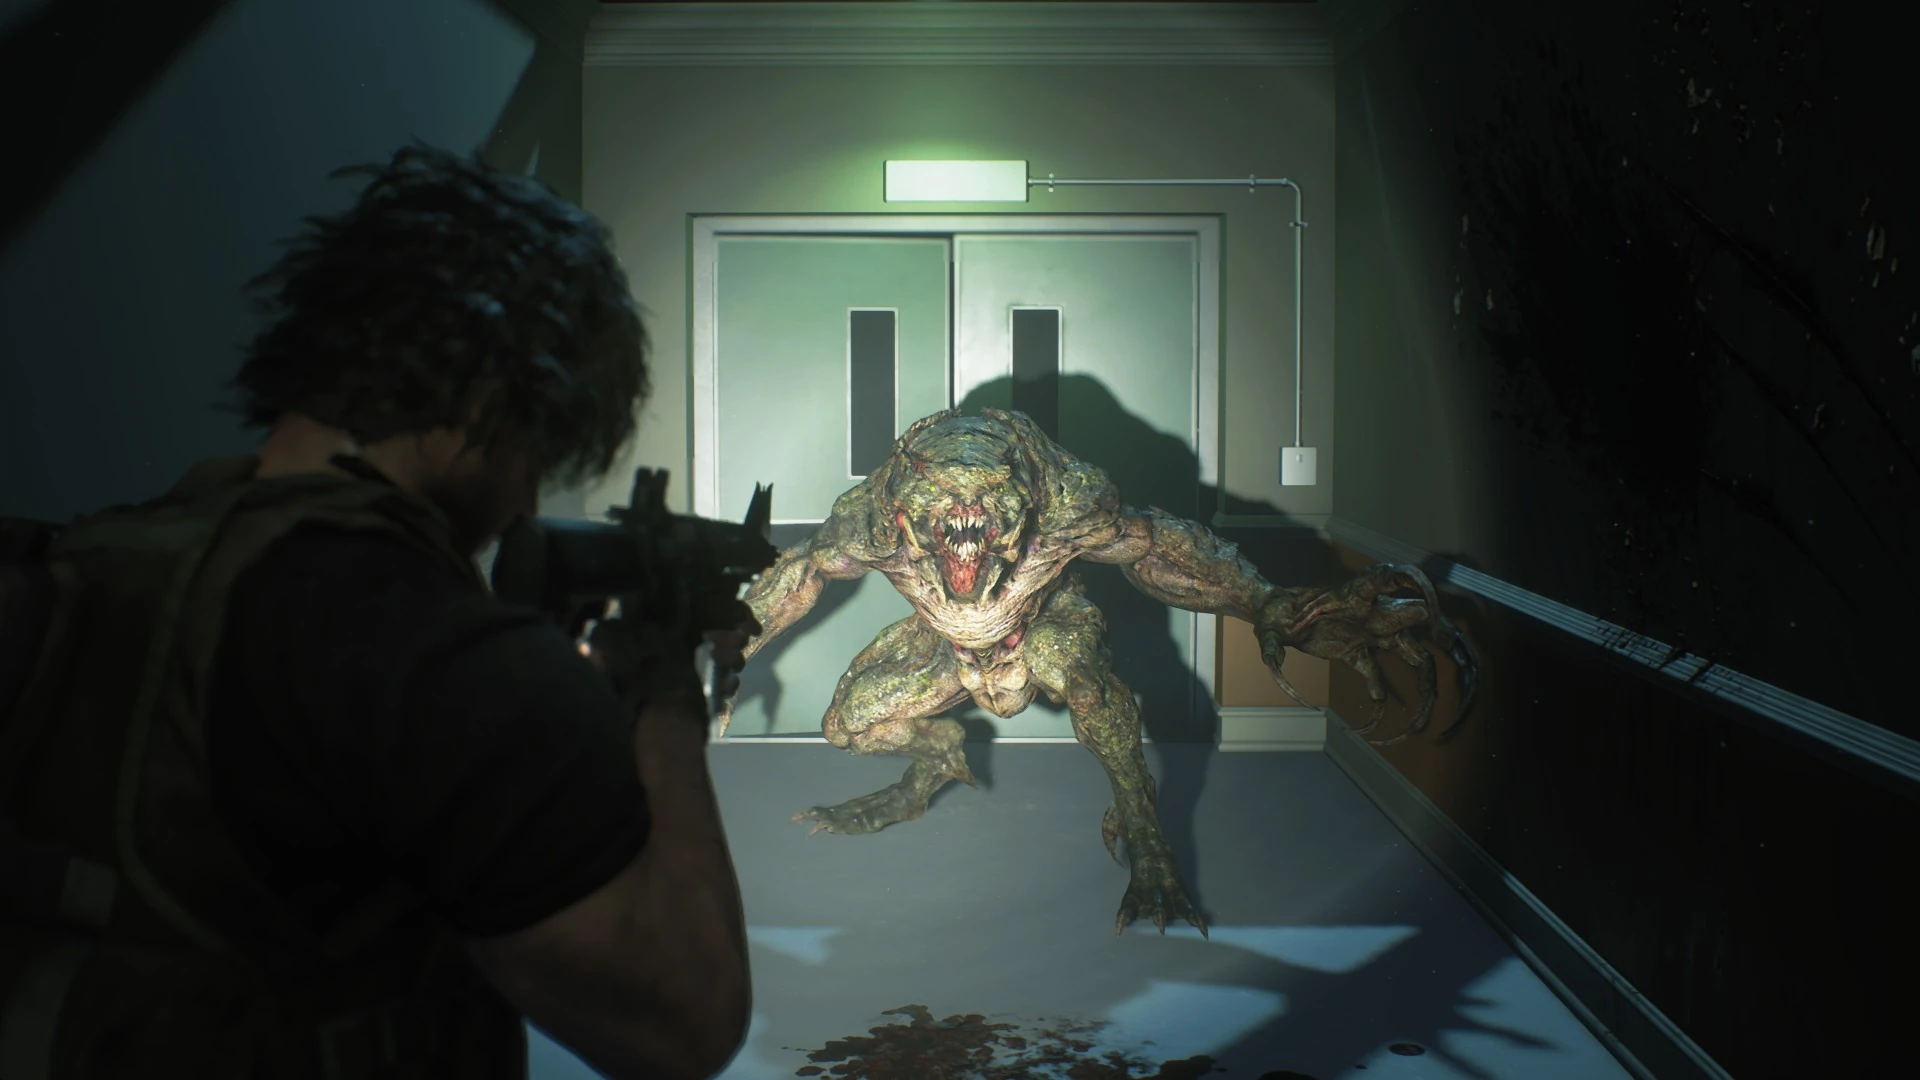
The creature will stand in place and begin to growl as it readies its claw. When it attacks, the claw will slash the player's torso, causing them to fall to their knees as they bleed out.
This variation of Hunter is the easiest to deal with by far, being extremely susceptible to all kinds of weapons. A point-blank shotgun blast is often enough to kill it right away and even using melee weapons is enough to take the creature down rather quickly.
With his axe in both hands, Lester will lift it high above his head and wait for a moment before quickly bringing it down, slicing anyone in its path.
There is enough time to avoid him when he begins to prepare this attack and it has little range, so it shouldn't be much of an issue. He can also be shot or attacked to make him cancel the attack. Either trying to kill the Axe Man or simply running away, either solution is viable really.
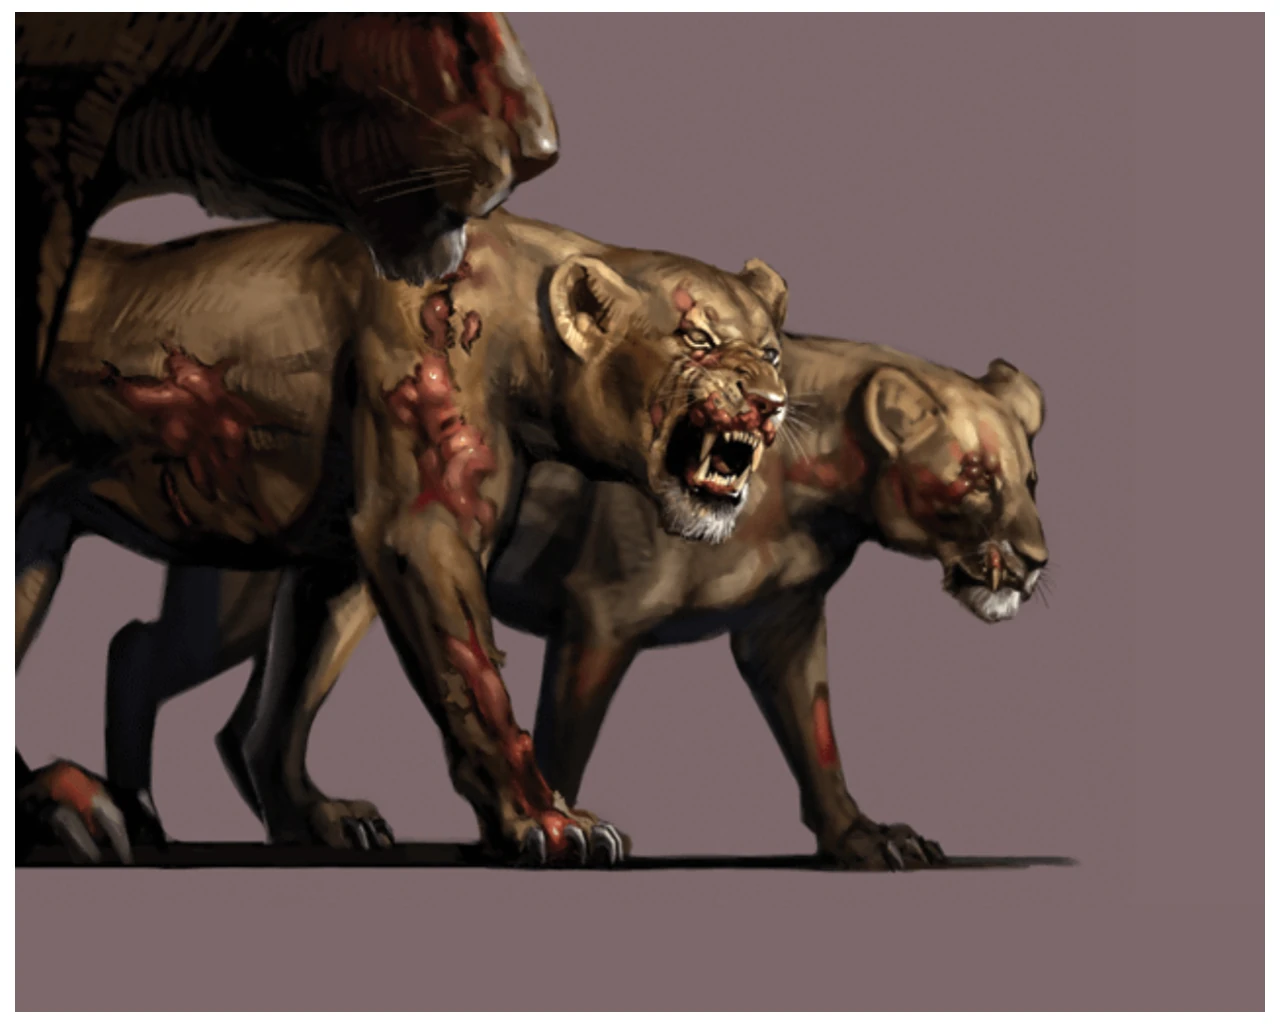
The creature will rear back and begin to growl as it prepares to attack, alerting the player before it charges the player and slashes their torso.
Zombie Lions are very quick and very dangerous because of their mobility. They are weak to David's homemade spears and a hunting rifle or any other heavy weapon should be enough to take them down. Just be ready to move when it gets into its stance.
Interestingly, Mark is able to guard against this attack.
See Zombie Lion. The Zombie Lion is more resilient but same basic strategy applies. When it leaps onto a nearby rooftop to recover, fire upon it to force it back down and finish the job before it can kill you.
Before performing its attack, the Thanatos will take a moment to point out his potential victim. Then, he will quickly run them through with his clawed hand.
A good strategy (aside from running, which is advisable in the first encounter) is to lead Thanatos to the nearby staircase, as he will rarely attack when going up stairs. Even when he's preparing to do his instant-kill, he can easily be knocked out of it through any heavy weapon or a potshot from a handgun. Overall, very manageable compared to others.
When running through the office, this mutated elephant can grab a player through a hole with its trunk and pull them out to prompty stomp them to death.
There is only one way to actually avoid this, and that is to stay away from the holes it comes through. Once Zombie Elephant grabs you, there is no escape from this so that is the only strategy that needs mention.
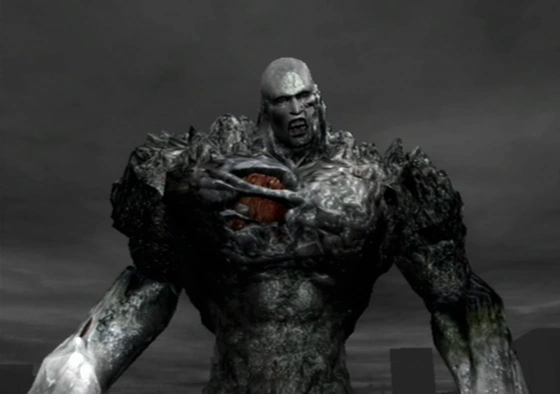
Much like the Tyrant R, the Tyrant C will begin to rotate its elastic arms around itself quickly, instantly killing anyone within range.
This Tyrant should be handled like any other Tyrant - try to take it down with whatever heavy weaponry you have and avoid it at all costs. This variant is faster than the Tyrant R and can easily corner you, but it still gives you a moment to escape as it prepares its attack. This attack is easily capable of hitting all players at the same time.
Much like the Tyrant C, the Tyrant R will begin to rotate its large clawed hands around itself quickly, instantly slashing and killing anyone within range.
This Tyrant should be handled like any other Tyrant - try to take it down with whatever heavy weaponry you have and avoid it at all costs. Thankfully this variant is not as fast as the Tyrant C and gives you a moment to escape as it prepares its attack. This attack is easily capable of hitting all players at the same time.
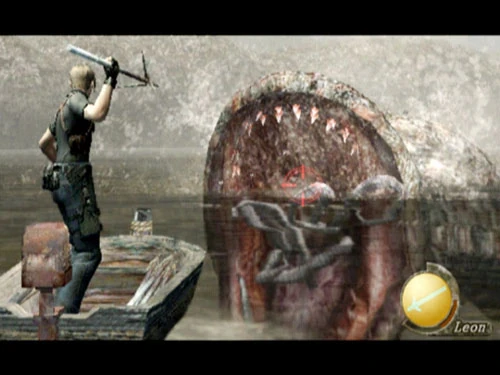
This will only occur if the player goes out of their way to stand on the shore of where Del Lago rests and fire repeatedly into the water. The creature will leap out and snatch the player off the shore, devouring them.
This is very easy to avoid... DON'T SHOOT THE WATER. Chances are you are doing this on purpose anyway, so a strategy is pointless.
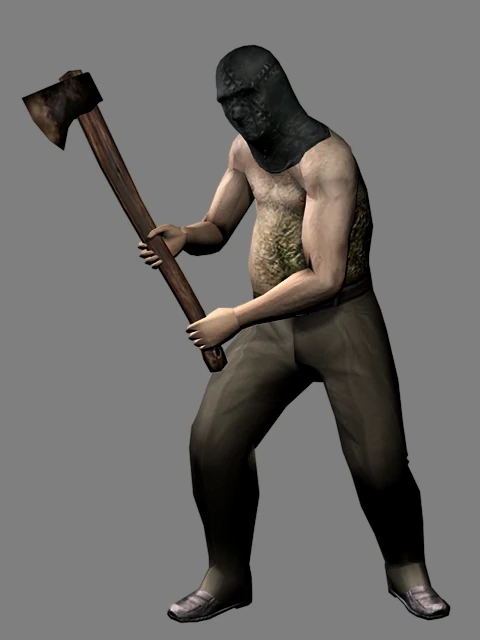
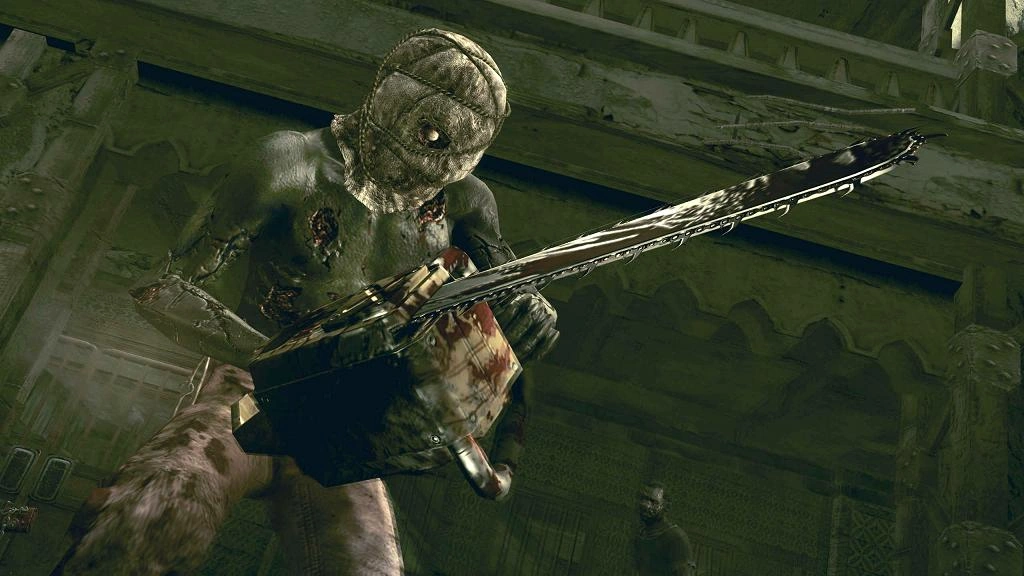
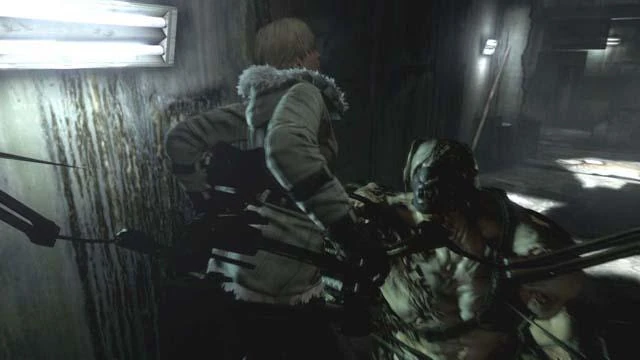
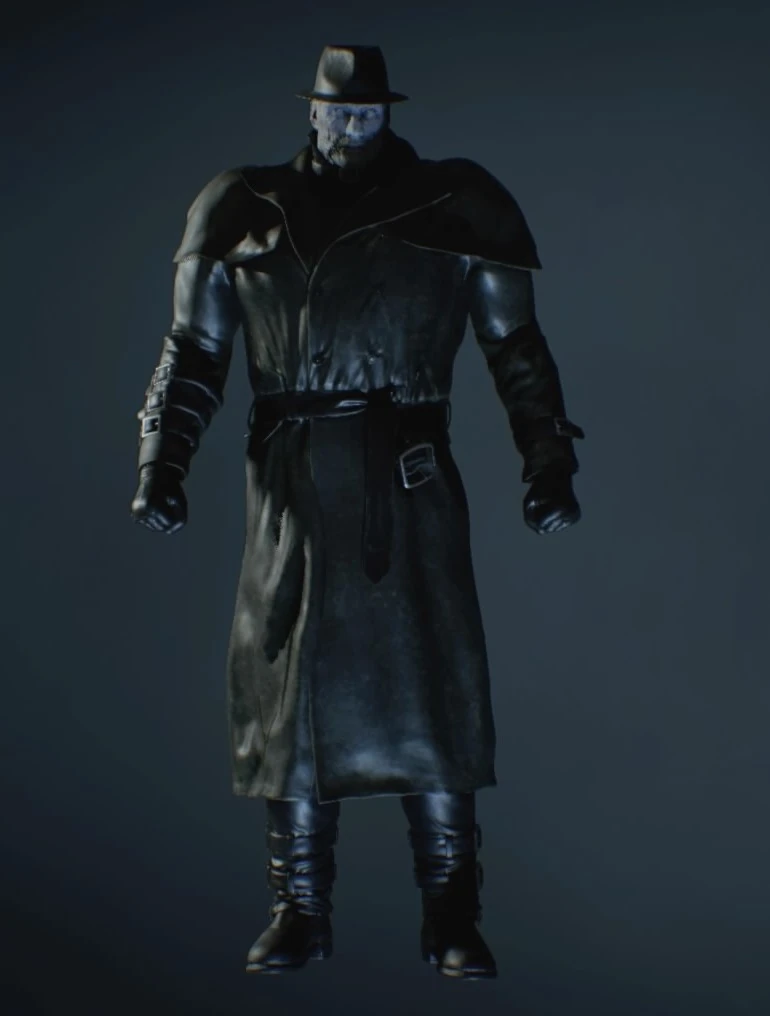
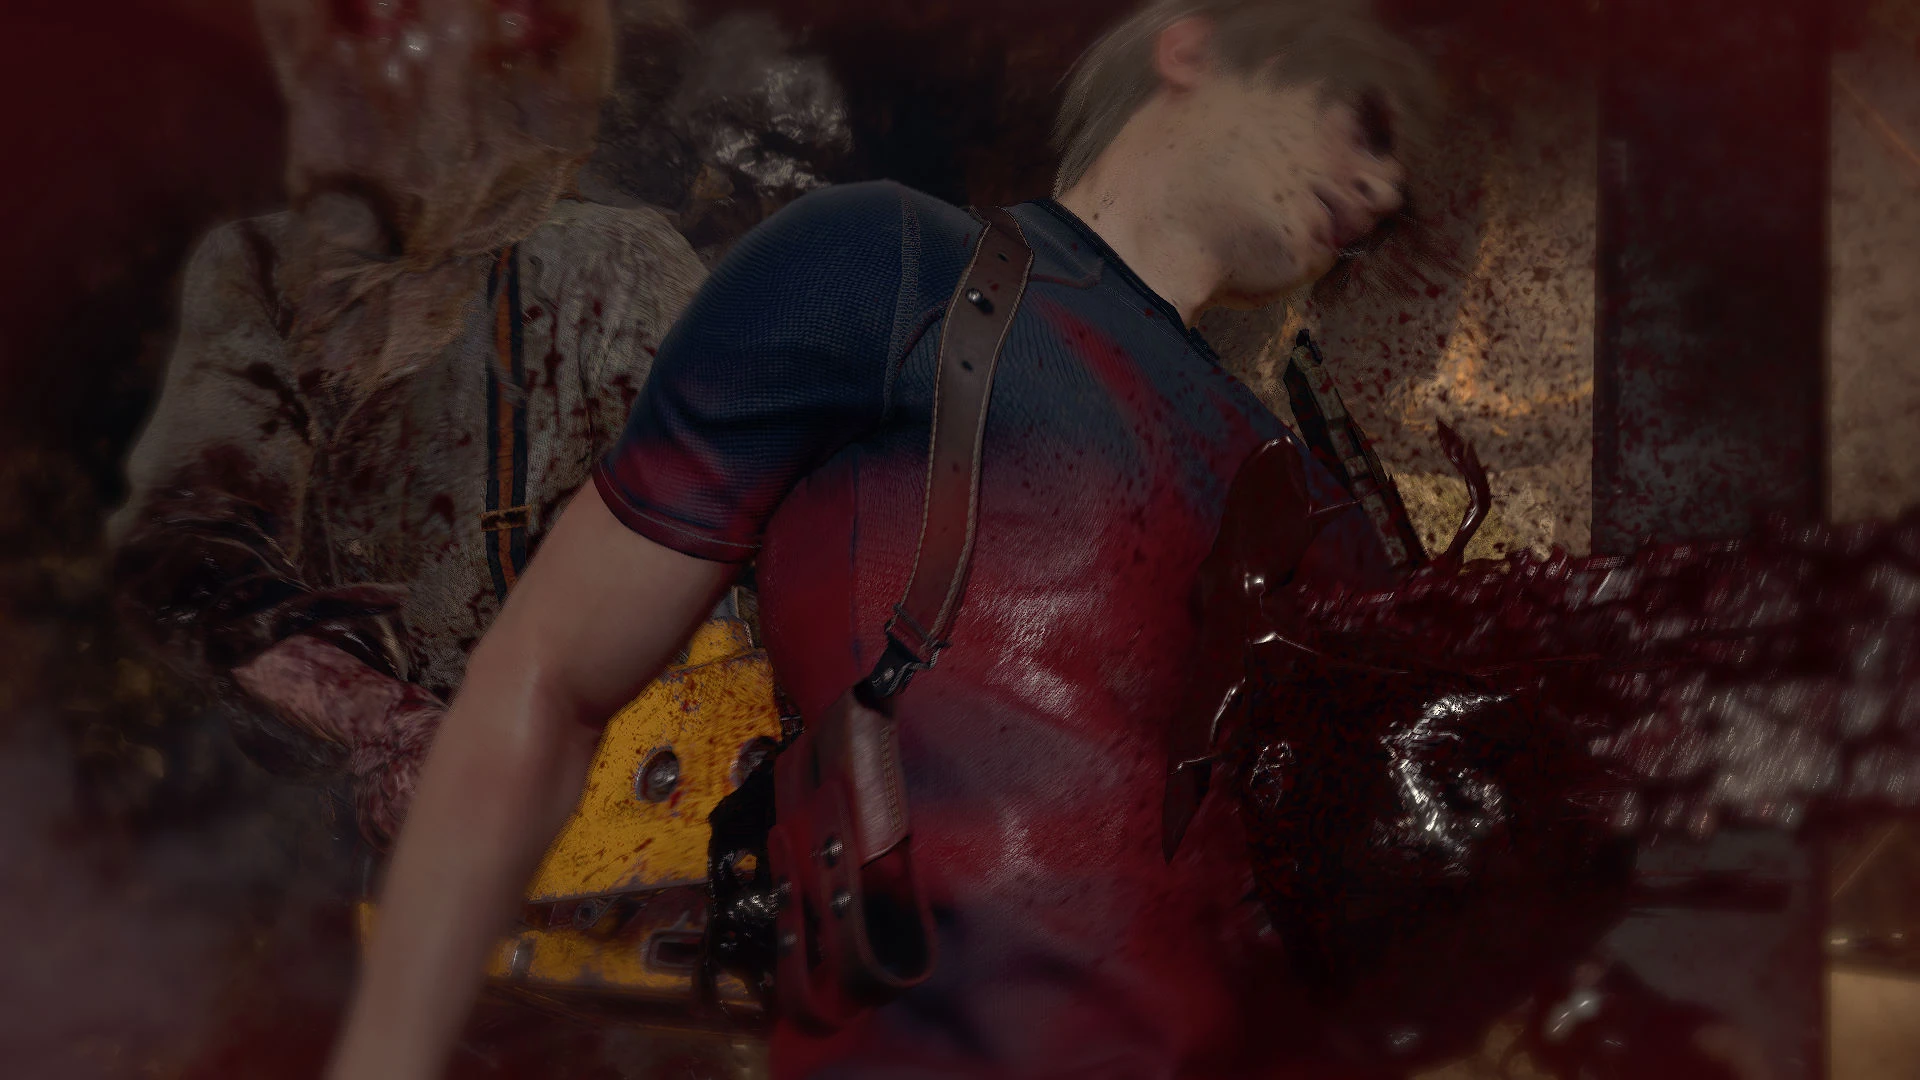
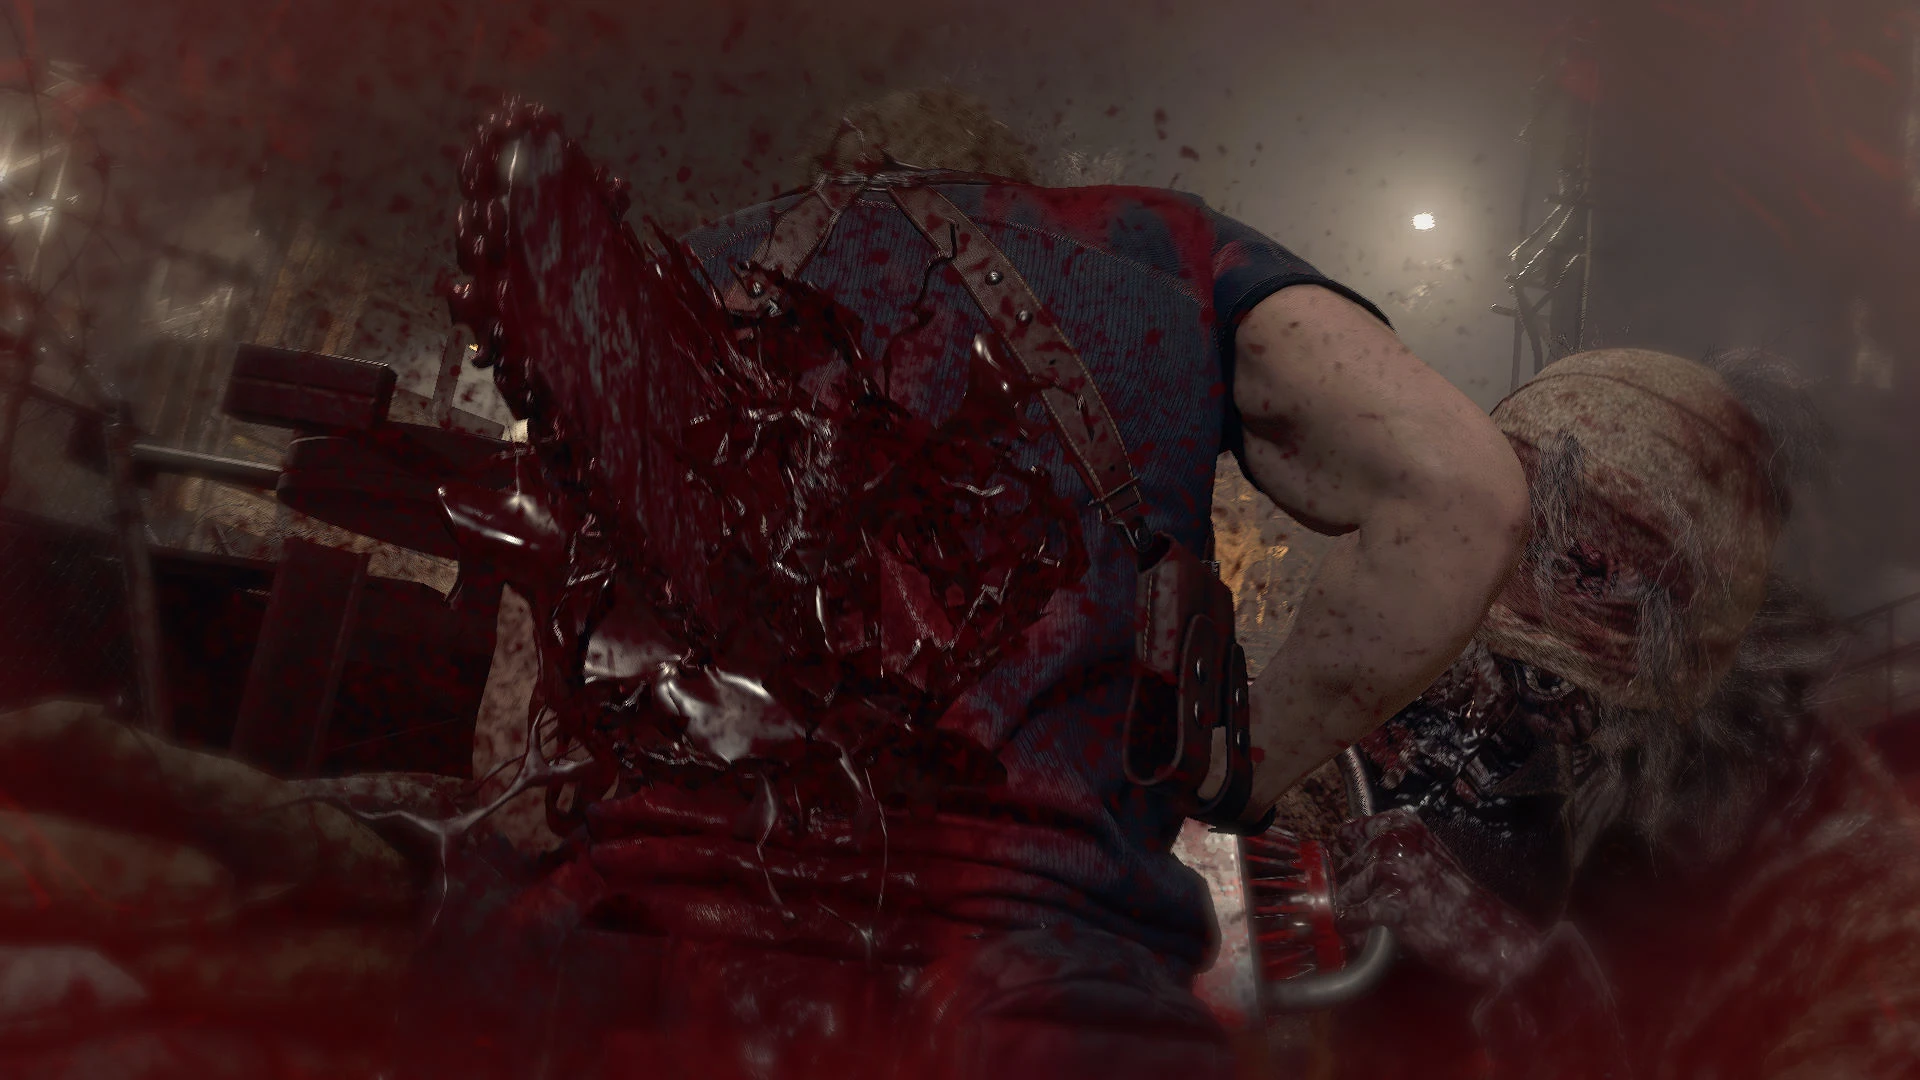
Like all chainsaw counterparts, when Salvador gets in range, he will drive the chainsaw into the player's neck, pulling it through completely until the player is decapitated.
The method of dealing with Chainsaw Man is the same as dealing with the Chainsaw Sisters. Although dangers to let him close, a shotgun blast should be sufficient in stunning him and knocking him off his feet. Just as with the Sisters, this will give you ample opportunity to load into him with whatever weaponry you see fit.
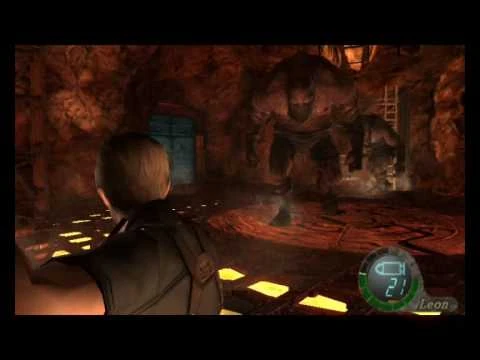
If the player reaches to the center of the room whitout closing the trap door after one of the giants fell in the lava, the giant will grab the player and dive in the lava with him.
After the player successfully traps one of the giants in the lava, regardless of killing the other or not, the player MUST stay away from the center of the room, until he closes the trap door.
Much like Chainsaw Man, these two female Ganado wield deadly chainsaws that are capable of decapitating the player when they get close enough.
Like any creature that needs to get close, keep a distance. Although they aren't as easily stunned as regular Ganado, a well-placed shotgun blast will be enough to down them and give you a few free shots from a weapon of your choice.
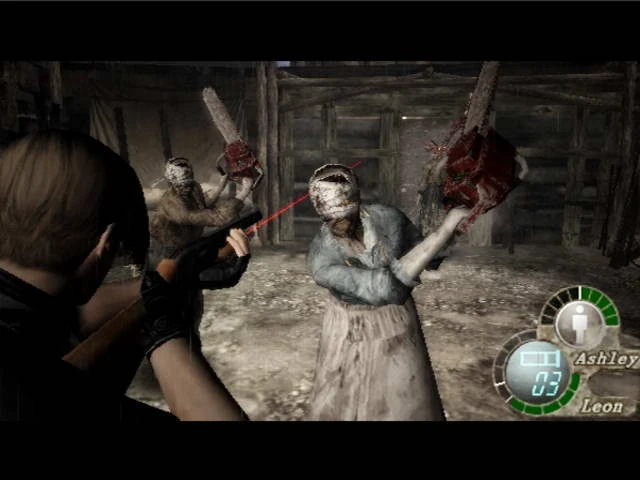
The Plaga commonly found in cultists and some Armadura, when they get close enough to the player, the open mouth of the parasite will promptly bite off their head.
The Plaga aren't difficult to deal with unless you're cornered. Even though, throwing a flash grenade will immediately destroy the Plaga. Of course, it can be handled using any type of firearm (although attacking it with the knife is obviously not advisable), but a flash grenade will make all your problems go away.
During the boss fight with Salazar, the newly formed head will turn sideways and swiftly snap out at the player, tearing them apart with its jaws.
Staying away from the center of the upper area will help, damaging the tentacle on the side you're on to give you some space. The jaw will not be able to reach you there. The best strategy is to shoot the large, bulbous eye until the "body" of the creature opens up, revealing Salazar's real body. Hitting this with a rocket launcher will end the battle right away.
Del Lago
Resident Evil 4 (2023)
Same as in the original: shooting the lake water causes a cutscene to play where Del Lago to jump out of the water in the devour the player, leading to an instant death.
A relentless beast found in Separate Ways, getting caught by Martinico results in the monster viciously biting the player character's upper body before another bite force, killing them instantly.
Running away from Martinico and saving your ammunition as it is impervious to most firearms is key to survival.
Another chainsaw enemy with the same trick up its sleeve. When he gets within range, he will perform one of two swings that will instantly cut open the player's throat. If standing directly behind him, he will swiftly turn and perform an instant kill as well.
The same as dealing with the chainsaw enemies of Resident Evil 4, keeping a distance and moving quickly is vital. The enemy isn't very fast so it's very easy to pull off shots on them, aiming for the head to stun them. Making use of the environment (barrels and conductors) is also highly advisable.
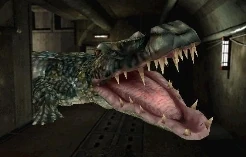
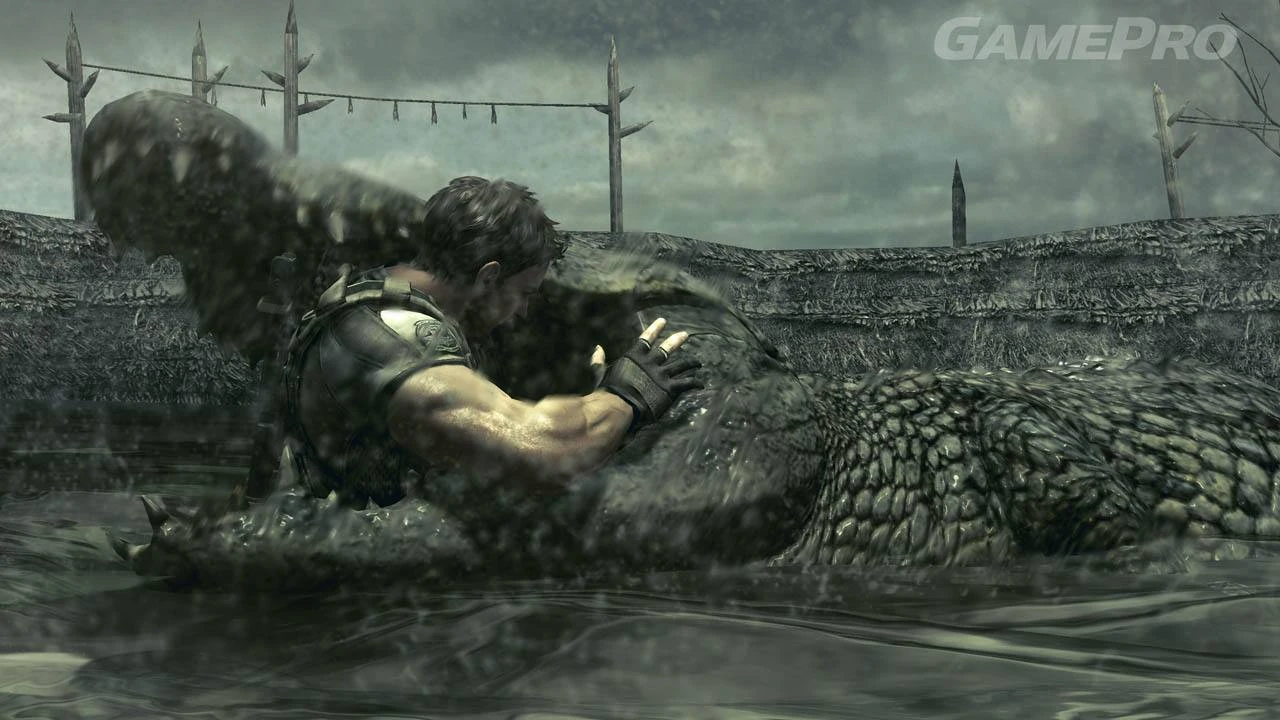
Walking through a marsh/water are littered with these highly-dangerous creatures. They only have one attack - a massive chomp that will drag a player underneath as they devour them.
Crocodiles will take as much abuse as other very powerful enemies. The best thing to do is to run fast and run far to avoid them. Using grenades, a grenade launcher, or a magnum will be the best bet if you want to kill them just to get them out of your way... but running is just as effective.
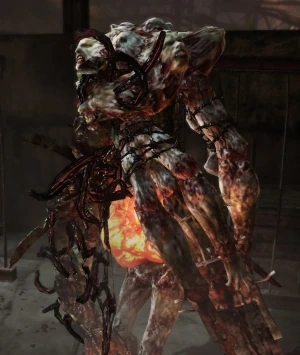
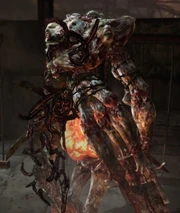
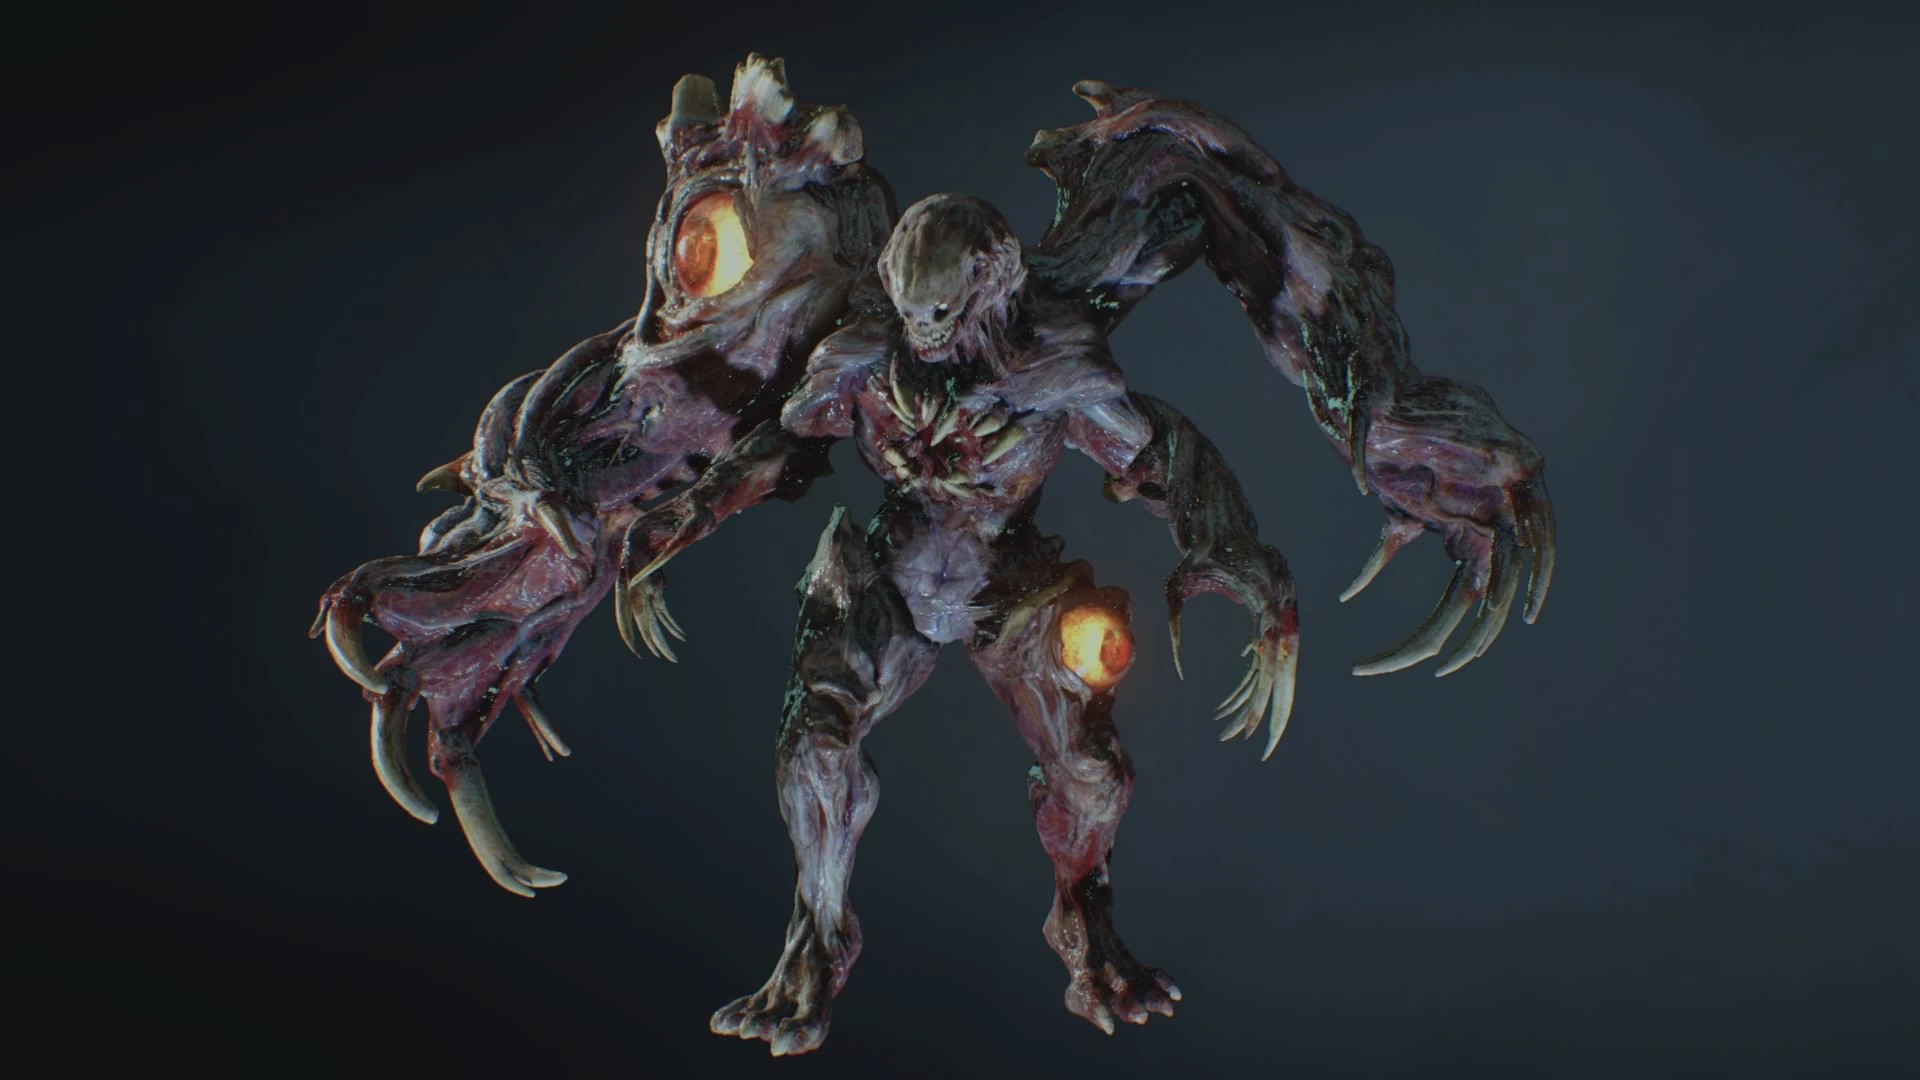
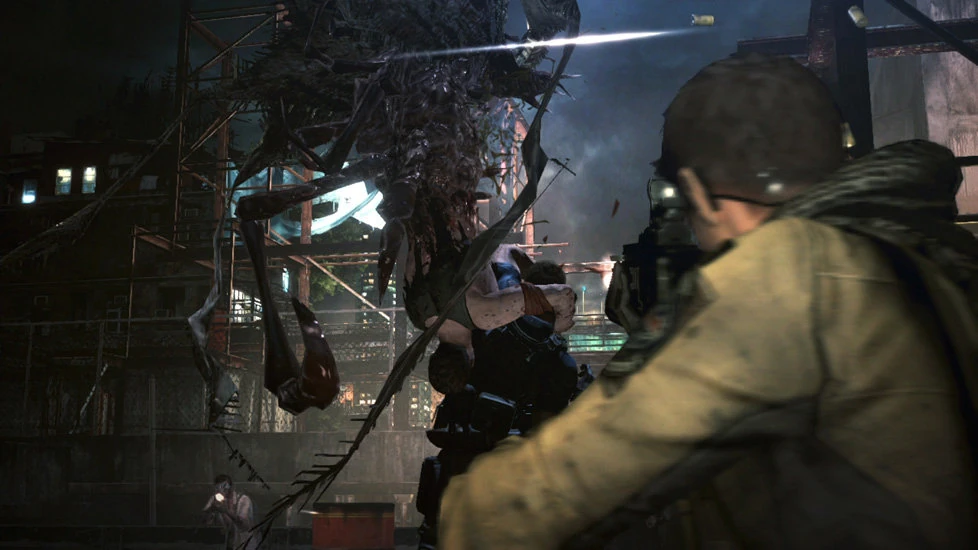
When the Reaper is close to a player, it will use its primary claws to grab them and hold them in place while using the secondaries to repeatedly impale the player.
Easily one of the most difficult enemies to deal with, they are only vulnerable in a few glowing sacs on their body. Explosives and fire are ineffective, as are flash grenades, but flash rounds from the grenade launcher will expose its weakpoints, leaving it open to attack. Limbs can be destroyed but regenerate very quickly.
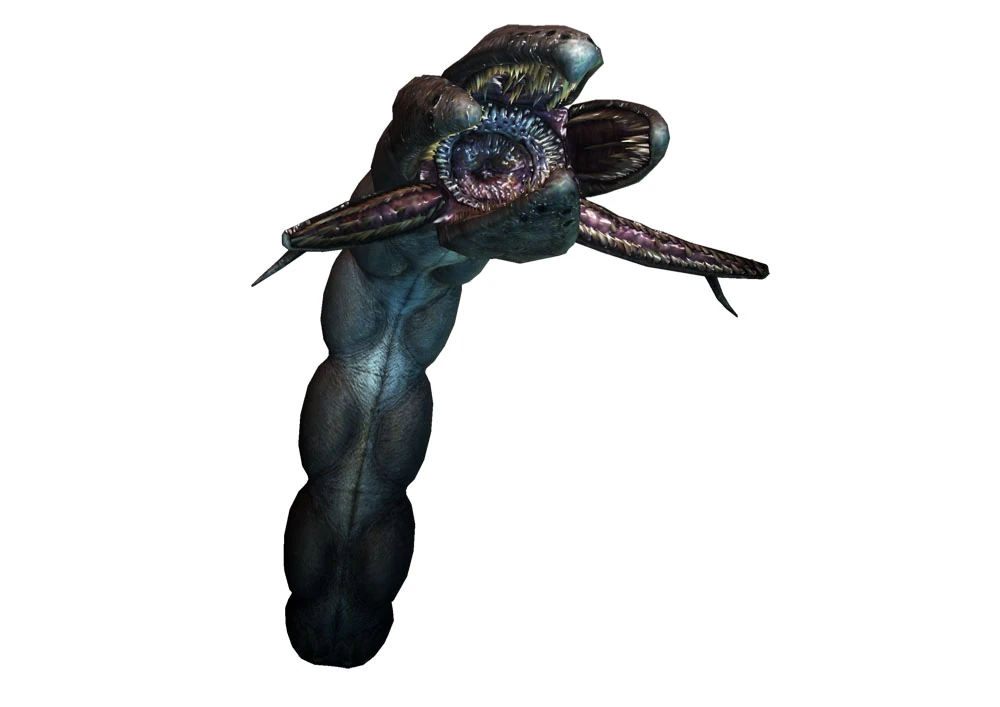
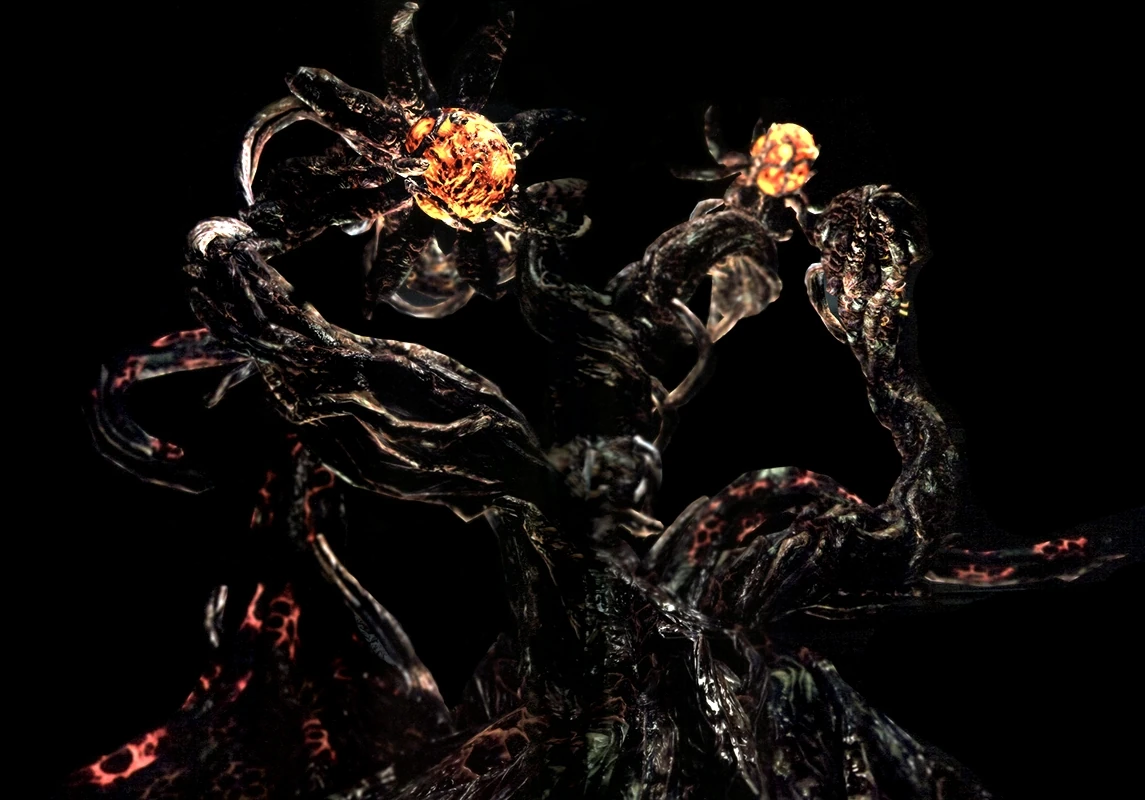
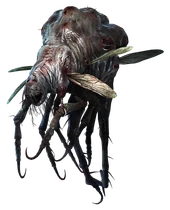
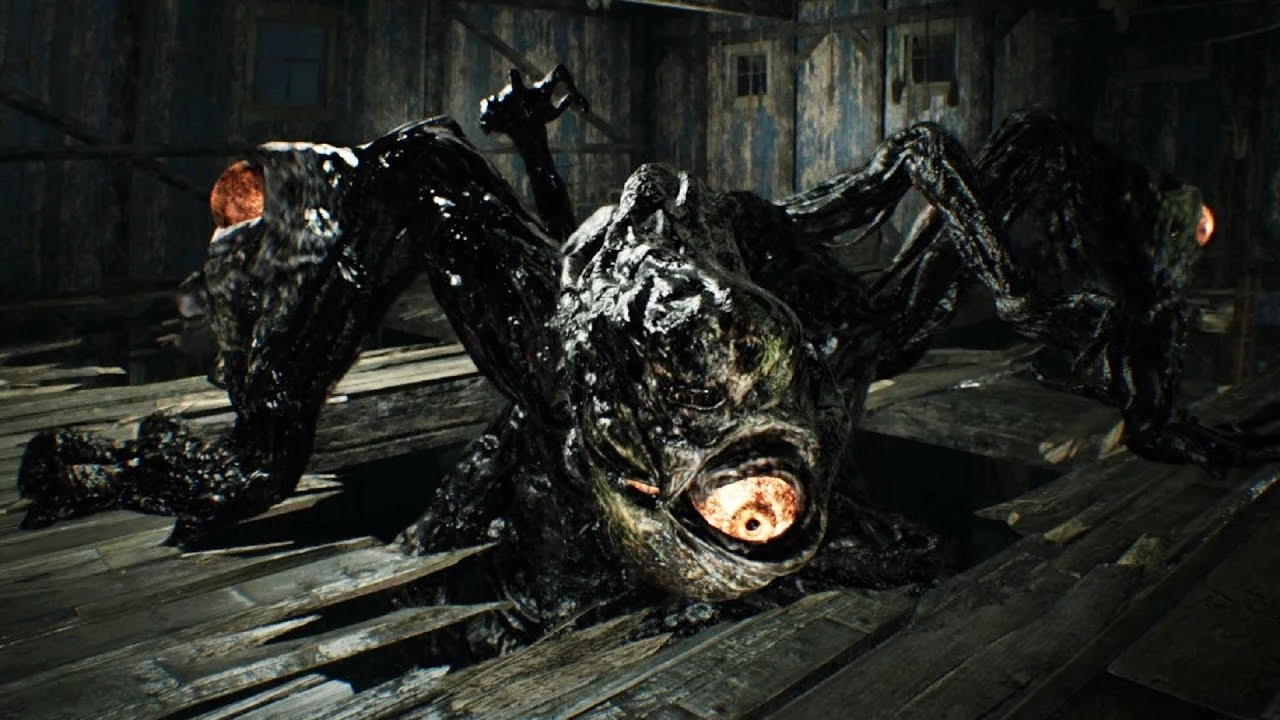
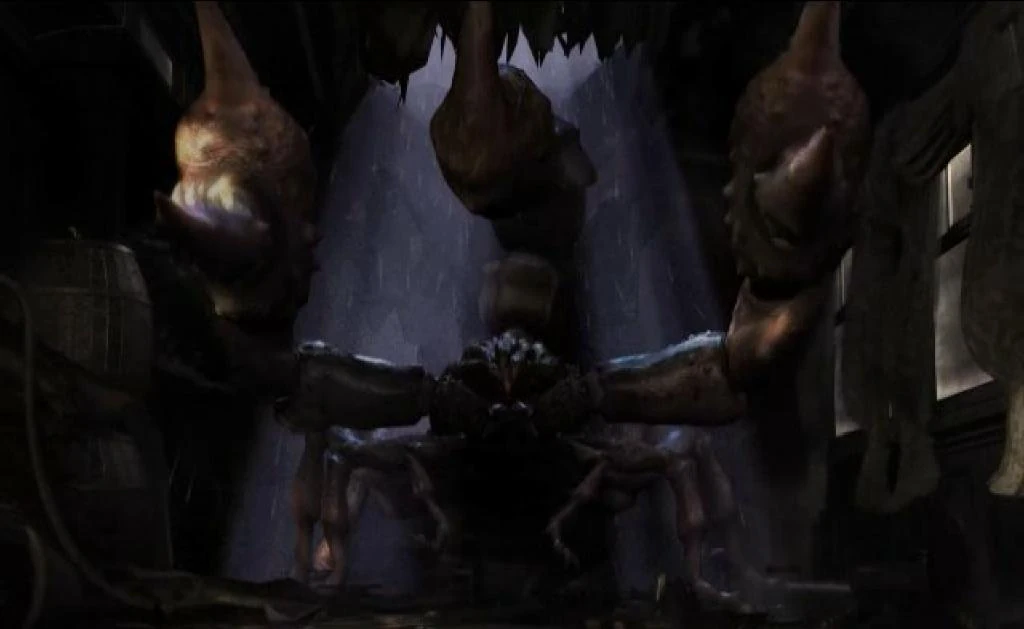
At some point during the battle with the Aheri, while using four tentacles, it will raise all four of them into the air. It will wait several moments before smashing them all down, instantly killing both players.
There is only one way to avoid this devastating and rather annoying attack. Look for the tell-tale sign of the tentacles being raised into the air as they glow a bright red. The only thing you can do at this point is to focus on one tentacle and let loose on it with whatever you have to knock the boss out of this attack.
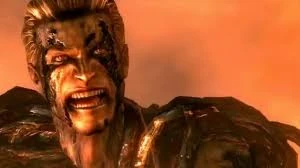
In his first transformation, he will pursue Chris and Sheva with spinning arms that will kill them upon contact. In his final form, he will create whirlwinds of tentacles that will instantly kill anyone in the center.
The only way to avoid this in his first form is to go through the motions of what's required. The partner can shoot Wesker to slow him down until the players meet to face the final form. This is easily shown by Wesker roaring and slamming both hands into the ground prior to it. Although you can use a rocket launcher to end the battle quickly, only other way is to target the weak points on his chest and back.
When having the advantage of being underwater, a Globster will be able to kill a player also submerged in water by swallowing them.
Obviously, the best thing to do is to avoid water where possible. The inside of their mouth is extremely vulnerable and also extremely exposed when they are moving or attacking.
The creature will grab the player by the legs with its large jaws when they are close, then activate its buzzsaw and run it through the center of their body vertically.
Keep your distance and aim for the humanoid head. This part of the creature takes extra damage from all attacks. Be wary of its traps that it sets out, resembling bear traps that will grab the player and hold them in place until they can escape. Like bear traps, they can be shot to be rendered harmless.
This creature appears exclusively in the HD / Unveiled Edition of Revelations, it also appears exclusively in Infernal Mode and Raid Mode. Once grabbed by this player, it is impossible to break free and it will twist the player spine resulting in an instant death.
It is best to shoot this creature with a highly powerful weapon immediately as it lands (since killing it is not possible when it didn't land/hatch yet). Otherwise it is best to completely avoid it by running away.
During a chase sequence, if the Ustanak catches up to either player, he will pick them up with his clawed hand and immediately crush their body. Other sequences may result in other similar end results.
In these sequences, there is only one thing you can do - run. That is the entire purpose of these moments, run and do not stop. Stop even for a second can give the Ustanak the edge it might need to catch up to you.
Eveline will bite the lower body of the player and swallow them alive, resulting in an instant death.
Similarly to G5, keep your distance away from her and keep shooting her head as she approaches you. Dealing sufficient damage will enter the second phase of the fight.
In his transformed state, at mid-range, Lucas will telegraph his instant kill attack by raising his right hand up, then thrust it forward, impaling the player. He can also chain his instant kill attack into his multi-hitting combo during the second phase of the fight when his chest weakspot is exposed
Lucas' instant kill attack can be blocked or deflected. If it is deflected, he will immediately be put into a stunned state, exposing his chest weakspot, allowing the player to deal additional damage with their weapons.
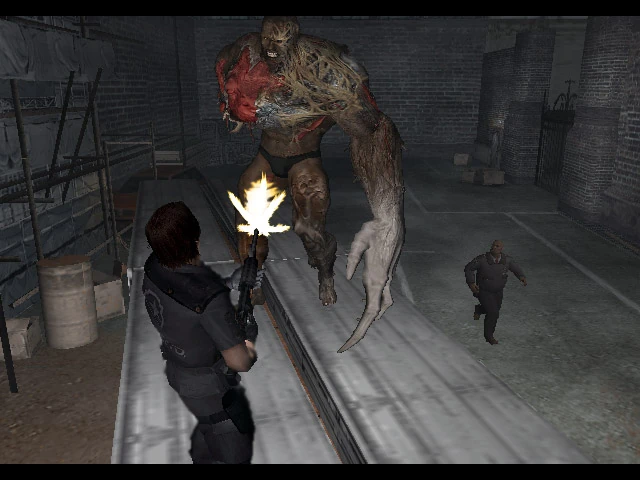
Only encountered in Leon's scenario. In the final fight on the elevator, at some point during the fight it will roar and perform a charging attack, if the attack hits, it will impale the player, killing them instantly.
While charging, hit him with a granade or a high-powered gun in its beating heart to cancel the attack. Alternatively, one can hide behind some debris which, if the tyrant ends up hitting instead, will also cancel the attack.
G5
Resident Evil 2 (2019)
Only encountered in the B scenarios. If the player strays too close to G5, they will be grabbed by its tentacles causing an instant death attack where the player gets swallowed by its gaping maw.
Keep your distance away from G5. Shoot it with every weapons at your disposal.
Encountered at the Sewers part and the Underground Storage. It will lunge at the player character with its mouth wide open. Failure to avoid will cause the player character to be swallowed whole, resulting in an instant death.
Always carry a flame rounds-equipped MGL Grenade Launcher to get prepared against a Hunter Gamma ambush as their skin are vulnerable to fire.
Nemesis-T Type will use their rocket launcher against the player character, hanging them from the weapon's barrel before firing it, resulting in an instant death.
Simply avoid straying too close from Nemesis during this phase.
Only encountered in House Beneviento during a hallucination sequence. The Baby will stalk the player throughout the house until getting in the elevator that leads to the upper floor. Getting caught by the Baby results in an instant death where the character is devoured alive while the Baby disturbingly mutters "Yummy!".
Run away as fast as you can and hide under the bed or closet to avoid getting caught by the Baby.
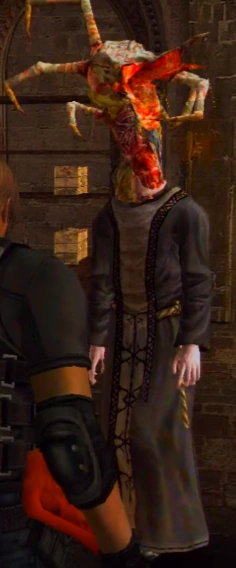
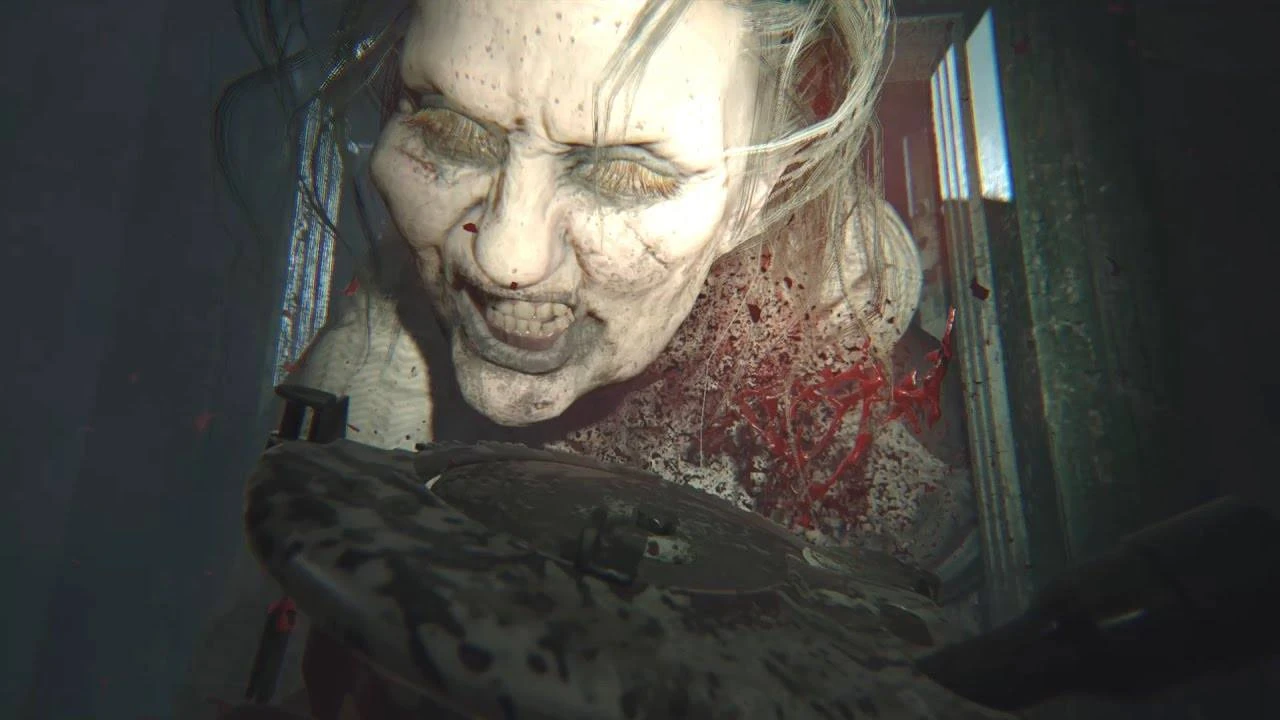
Getting too close to an active ivy zombie will cause it to grab the player, where its maw will open and bite the player's head, killing them instantly.
If grabbed, the player must use a defense item to break free of its hold. Failing the prompt or not having a defense item on hand will lead to instant death. Most ivy zombies appear at a distance and can be temporarily incapacitated with well-placed shots or killed outright with fire.
If too close, the T-00 will grab the player with one hand and attempt to crush the player's skull, killing them instantly.
If grabbed, the player must use a defense item to break free of its hold. Failing the prompt or not having a defense item on hand will lead to instant death. The player is generally fast enough to maintain a certain distance away from the T-00. Close quarters situations tend to occur when encountering other enemies at the same time or if the player is cornered.
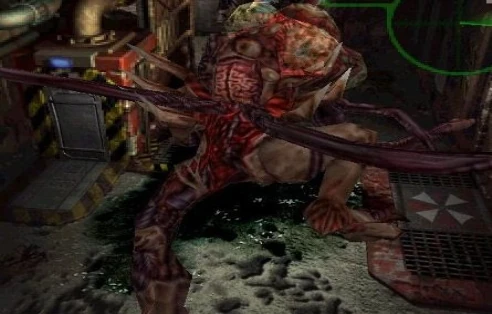
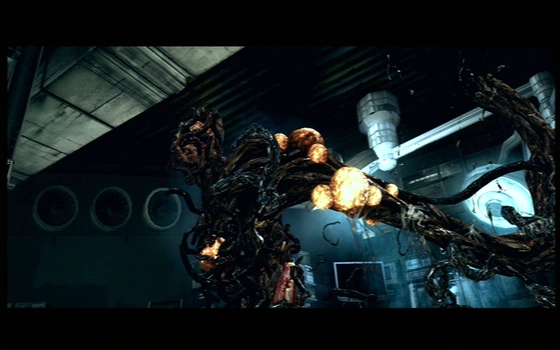
William Birkin (G2)
Resident Evil 2 (2019)
At some time, it will attempt to use its large bulky right arm to grab the player and attempts to throw the player off to their doom, resulting in an instant kill.
If grabbed, the player must use a defense item to break free of its hold. Failing the prompt or not having a defense item on hand will lead to instant death. Make sure to keep away from it and incapacitate it by the destroying its eyeballs as fast as possible to end the confrontation.
William Birkin (G3)
Resident Evil 2 (2019)
At some time, G3 will crouch before jumping towards the player for a grab attack. Failure in using a defense item will result in G3 using its sharp claws to maul the player, instantly killing them.
Since this attack has a short preparation phase, it can be easily avoided by simply running away from the area G3 will land on. If grabbed, the player must a defense item to break free of its hold. Failing the prompt or not having a defense item on hand will lead to instant death.
When facing the Nemesis in its first form with no rocket launcher, it will pick the player up off the ground if knocked over and attempt to drive its spiked tentacle through their face.
When picked up by the Nemesis creature, you can struggle to break yourself free from its grasp.
When a player is at a distance, the Bandersnatch will use its long elastic arm to grab their head. If they don't escape quickly enough, the creature will break their neck.
Immediately when it grabs your head, begin to circulate the analog/directional pad or move back and forth to escape the Bandersnatch's grasp.
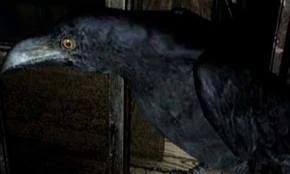
When crossing the J's Bar rooftop and the wall of the Apple Inn, Crows will attempt to knock the player over. Pecking at you, they will knock them over and they will grab on to the ledge. If the crow strikes again, the player will fall to their death.
To avoid this, you can tap the designated button to pull yourself back up onto the ledge before the crow can strike you again.
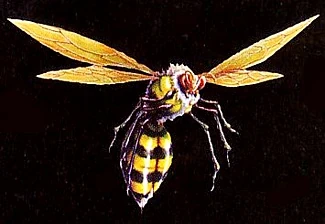
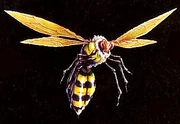
When crossing the wall in the emission tower (Decisions, Decisions scenario), one wasp will try to knock the player over, just like the crow. If the wasp strikes again, the player will fall to their death.
To avoid this, you can tap the designated button to pull yourself back into the ledge before the wasp can strike you again.
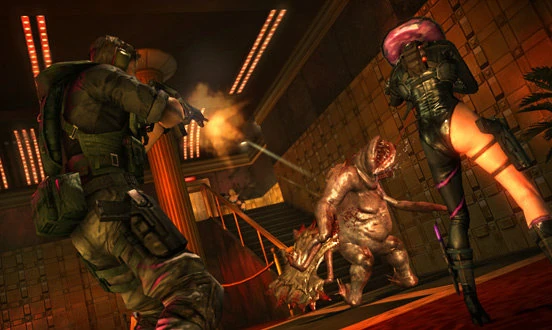
When near a player in caution status, the Hunter will pick them up and put them in their mouth, chewing on them for a few moments before swallowing them whole.
When being chewed, the player can be rescued by another player. Almost any attack will stun the Hunter and cause it to drop the player in its mouth.
When on land, the alligator will grab on to the player's leg and attempt to throw them into the air to devour them. While in water, they will come up under the player to attempt to eat them.
When the alligator grabs your leg, it is possible to escape by rotating the analog/directional pad or being saved by an ally by shooting the creature. The latter is the only way to save a player caught by the creature while in water.
While fighting the Del Lago, it will often knock the player out of the boat. They are forced to swim back but if unsuccessful, Del Lago will swallow them whole.
When knocked out of the boat, the only thing you can do is rapidly tap the designated button to swim back to the boat. However, if your health is low enough to a certain point you will not make it regardless so stay healed.
If too close, the creature will grab the player's head with its tentacle arm. And sometimes, while running through the crates the creature will drop down on the player and drag them up to the ceiling. If successful on both situations, it will break the player's neck.
Both attacks will have a prompt to evade but even if grabbed, you will be able to struggle to break free by rotating the analog stick.
Much like in the original, the Chainsaw Villager attacks are instant-kill attacks. If the player fails to parry with their knife, the Chainsaw Villager will perform a diagonal swing against the player's upper body before thrusting his chainsaw against the player's chest, piercing through and killing them instantly.
Ensure that your knives are ready to use in case you are cornered by the Chainsaw Villager. Most importantly, keep your distance away from him as soon as possible, especially when he is grouped with a horde of Ganados.
Chainsaw Sisters
Resident Evil 4 (2023)
The Chainsaw Sisters use the same death animation as the Chainsaw Villager.
Follow the same tactics as the Chainsaw Villager, always prepare a knife to parry their attacks and keep your distance away from them.
Mandíbula
Resident Evil 4 (2023)
The Mandíbula will decapitate the player by swallowing their head with its gaping mouth.
Keep your distance away from the Mandíbula, always prepare a knife to counter its attacks. If they're in large numbers, prepare your flash grenade to deal with them easily.
Failing to press the designated button prompts will result in either Jack successfully killing the player with his knife, making the player fall to their doom by stomping their hands while hanging, or using his mutated claws to crush the player.
Use the designated prompt to avoid being killed by Jack Krauser's attempts.
Occasionally, the mutated Irving will open its gaping maw and bite down on part of the boat. If nearby, the player can be caught in its bite and killed.
When this attack occurs, players will be prompted with a button press that will allow them to evade the incoming attack if necessary.
When caught by a J'avo that is mutated into a moth body for legs, it will grab the player. If they do not escape in time, it will use a stinger to impale the player.
If caught, simply move the analog back and forth to build up the meter to escape. It is best to avoid these types of mutations, stepping back when they rear back their upper bodies to grab you.
At the second phase of the fight in Old House, Marguerite will sometimes suddenly drag the player for a surprise attack. Failing to deal sufficient damage against Marguerite in time will cause her to either viciously rip the player's lower body or split them in half, leading to an instant kill.
Use your weapons and shoot her as fast as possible to break free from her grasp.
After Zoe Baker appears, the player will trigger a cutscene where Jack will suddenly grab the player. Failing to administer the Serum in time causes the mutated Jack to decapitate the player, resulting in an instant death.
Simply press the button prompt to administer the Serum, calcifying Jack to avoid the instant death attack.
When the player is low on health, the Cerberus will sometimes perform this new attack. As they pounce on the player, their jaws immediately lock on their throat and tear it out.
The most obvious aspect of this is don't stay in a low health status, trying to stay in Fine condition. Although a Cerberus can be taken down with a knife or handgun, sometimes it's best to just down it with a shotgun blast to give you an opportunity to finish it quickly before it can hurt you too badly.
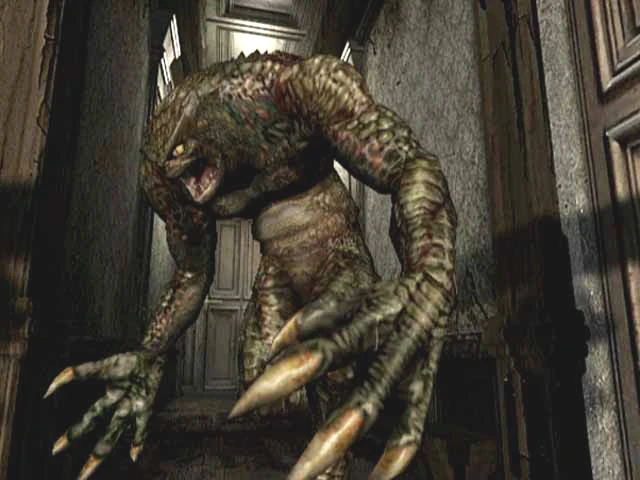
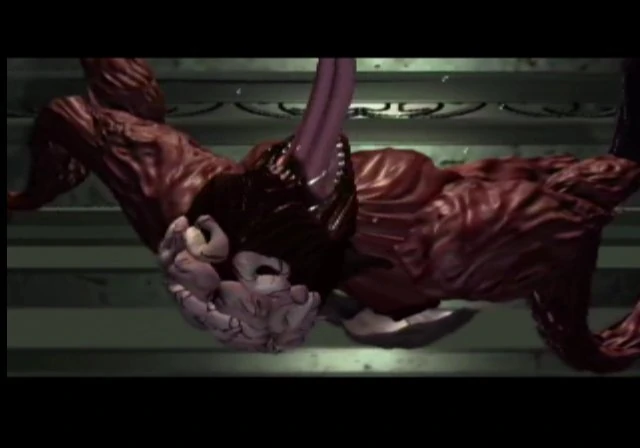
In the original game, Yawn will devour a weakened character. In the Resident Evil, the massive snake will constrict the player tightly until they die.
In the first encounter, it is possible to try to avoid this serpent all together as you grab the necessary item and escape. Second round however is to the death. Regardless of when you face it, the strategy remains the same - keep away from its head and unload into it with the Grenade Launcher (Acid Rounds), Shotgun, or whatever you have.
A trademark move of the Hunter, it will leap at the player and slash across its throat with its claw, sometimes decapitating them.
This will only occur when the player reaches a Caution level of health. The best bet is to handle a Hunter with a shotgun or any other heavy weapon that you have ammo for. Keeping it floored and keeping your health in Fine status will save you from this.
Much like the family of Hunter creatures, when a player is in Caution a Licker can leap at them and slash their throat with a clawed hand.
Lickers are quick and agile, much like the Hunters but in a different manner in that they are low to the ground. The same basical strategy would still apply, however. A well-placed shotgun blast will do wonders and the best thing is to make sure your health stays in a Fine status.
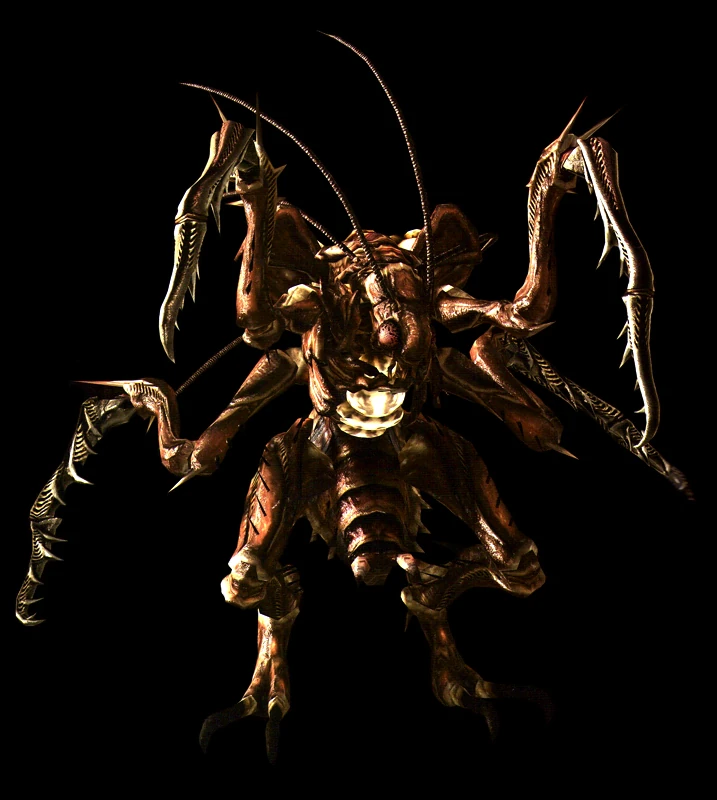
If the player is too close to the scorpion when low on health, they just might find themselves soon impaled by the creature's stinger.
Although the boss hurts, it is simple - unload into its face with the Hunting Gun or whatever you happen to have handy. Make sure to have healing items present and be careful not to waste ammo when it's guarding itself. Keep in mind to keep away from it as it dies, as it will attempt one final highly-damaging attack. It might also be advisable to play as Billy for the battle.
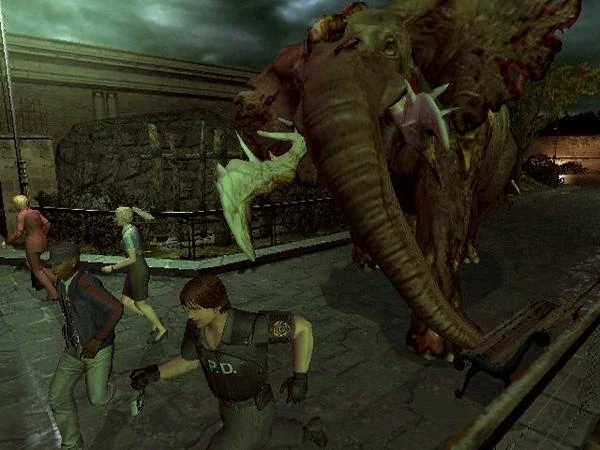
Rearing back onto its hind legs briefly, the creature will use all of its weight to come down with the front two legs, stomping upon beneath them.
The best strategy is to really not fight the elephant in the first place. It can be done by trapping the elephant inside its cage by using the blank tape on the tape machine above the cage to lure it back in, then run down and shut the doors behind it. Although it can escape again, you at least have a chance to get away before it does. Mark-type characters can block this attack interestingly.
See Hunter α. Keep in mind unlike others in the Hunter family, the Farfarello is able to utilize camouflage, making it an even trickier enemy to deal with.
Miscellaneous[]
Enemies that can cause instant death but does not fit elsewhere are listed here.
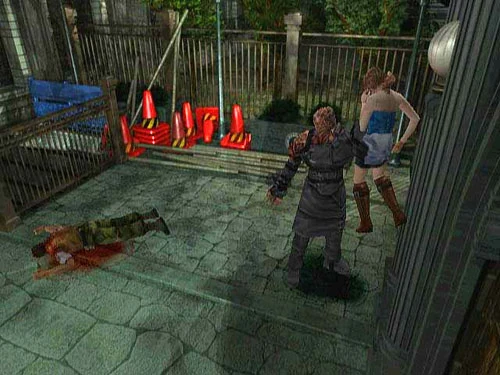
In the mode One Dangerous Zombie, Forest will appear strapped with grenades, pursuing the player through rooms. If fired upon, it is an instant game over for the player.
The only thing to really do about this zombie is to avoid and evade him. Whatever you do, do not shoot him. Some creatures can knock him down while the player.pursuing without any consequences. Most notably, Crimson Heads.
In the ending after defeating Nemesis-T Type's third form, Carlos Oliveira will attempt to grab Nikolai from a choke hold to give the player an opportunity to incapacitate him. Failure in doing so results in Nikolai killing both Carlos and Jill with his knife, resulting in a game over.


